Sunday, October 12, 2014

"Homemade Creamer" or "3 ingredients vs 15 chemicals"

The photo above first appeared after a news story touted how terrible Starbucks and all their pumpkin spice ingredients were. (No real pumpkin)
I noted it, and moved on. Who has time to make their own creamer?

This week, I ran out of my creamer, and while at the store decided, hey! I'm going to try it!
I had been enjoying the Chocolate Caramel Hershey's Creamer by International Delight, but decided to purchase Torani Salted Caramel syrup instead.
Do I regularly purchase Sugar Free syrup? No, but the flavor variety was unappealing to me in the full-sugar versions today and Salted Caramel in my coffee is delightful.

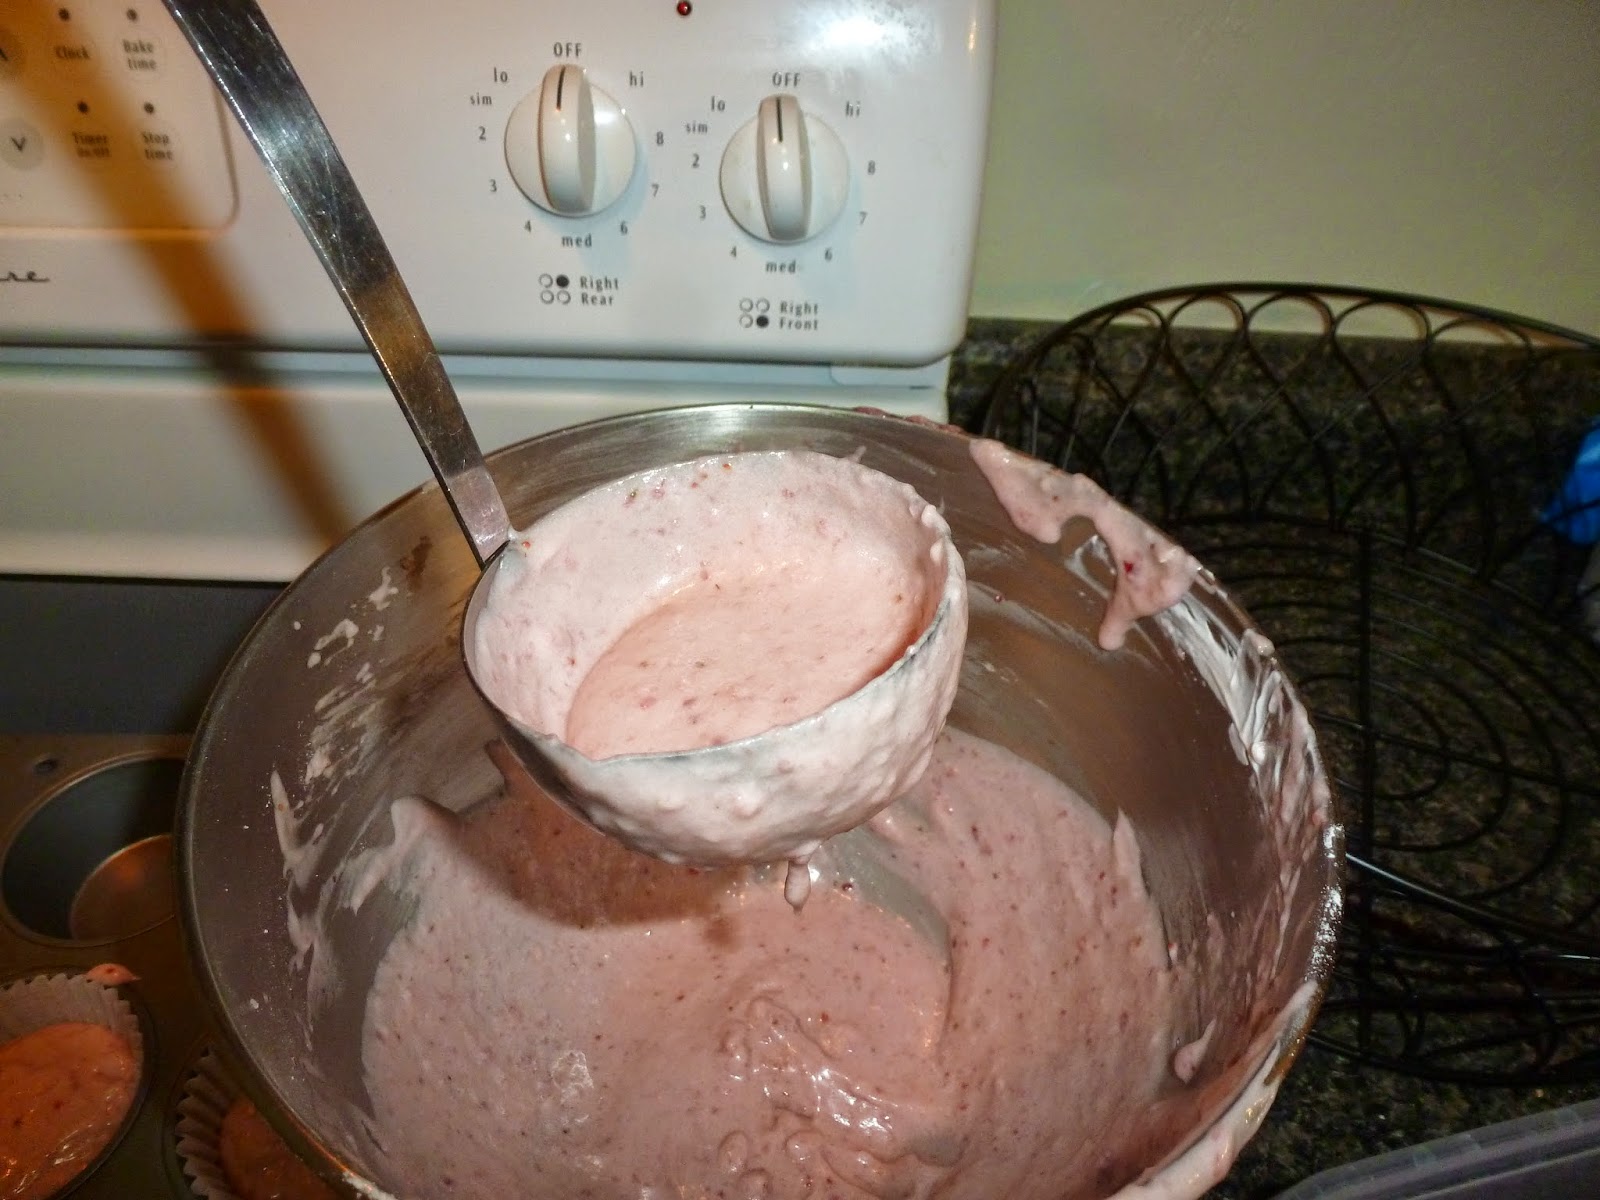
I used a glass Pyrex 4 cup measuring cup to pour out my 2 cups of milk, followed by the entire can of sweetened condensed milk. I then added the 1/3 cup of Torani syrup and mixed thoroughly with a spatula.

I then poured the mixture carefully into my washed, empty International Delight container.

After heating up a cup of coffee, I added creamer and sampled it.
Success!
It's always nice when something actually turns out correctly, but it has not always happened for me.
Noting the price of sweetened condensed milk, actual milk, and Torani syrup, I would not say this is necessarily cheaper, but perhaps it would be over the course of all the batches?
I am just glad not to be consuming oil in order to make my coffee seem creamy.

"NON-DAIRY PRODUCT INGREDIENTS: WATER, CANE SUGAR, PALM OIL, CONTAINS 2% OR LESS OF EACH OF THE FOLLOWING: COCOA (PROCESSED WITH ALKALI), SODIUM CASEINATE* (A MILK DERIVATIVE), DIPOTASSIUM PHOSPHATE, NATURAL AND ARTIFICIAL FLAVORS, MONO AND DIGLYCERIDES, SODIUM STEAROYL LACTYLATE, POLYSORBATE 60, CARRAGEENAN, SALT. 
*SODIUM CASEINATE IS NOT A SOURCE OF LACTOSE."

Sweetened condensed milk has two ingredients: Milk, Sugar.
Milk has one ingredient: Milk
The syrup I bought has twelve ingredients. The first ingredient is water.
The non-sugar-free version has only eight, and two of them are water. The first ingredient is pure cane sugar, then water, then natural waters. (Why two waters?)

Without the torani syrup, I'm sure this would still be satisfying, but if you have to have a flavor, then this is the recipe.

It is still better to drink your coffee black. By far. It is better to have the sugared version when it comes down to ingredients.
You are definitely consuming more sugar than your body needs if you use sweetened creamers at all, but it's not my job to provide you nutritional guidance.
I am simply the recipe tester on Facebook. :)

~Tammy


Monday, July 28, 2014

Easy Egg Yolk Removal


Well, if you have noticed, it's been a while. :D

Quality, not quantity, I like to say. When there's a post worth reading, it's a post worth posting and here is something I saw on Facebook and tried for you.

My daughter turned 3 recently and chose pink cake with pink frosting. I ended up making strawberry cupcakes with strawberry cream cheese frosting. That is in a different post but it turned out fabulous!

On Facebook, there was a cheery photograph or perhaps a short video embedded in my news feed. (Anybody else slightly annoyed by the interruption of videos that start without your permission? At least they are muted.)
"Easy Egg Yolk Removal". Simply take an empty water bottle, place it over the yolk, and you'll suck up the yolk from the white!

I cracked open my three eggs and placed them into a bowl. I took an empty water bottle, squeezed it semi-flat, placed it over a yolk and voila! The egg white and yolk quickly sucked into the bottle.


Well, as soon as I tried to dump the white back into the bowl, the yolk broke!
Please learn from me and don't do this over your bowl of whites.
This reminds me of the time I tried to measure the salt into the teaspoon and ruined a batch of cookies...lesson learned.

This either meant that one of my eggs was "older" than the others, which would have made the boiled egg version easier to peel, or it's just Murphy's Law.
The other two went like this:


I used the "whites" anyway, with just a bit of yolk in there and you couldn't tell when it baked.

My verdict on "easy" separation of yolk from the whites? It was easy and fast and you're not holding two halves of a shell while you play Russian Roulette with your yolk, but there is still risk for a broken yolk, even without sharp objects. Again, go one at a time and not over your "whites" bowl, in case of contamination.

Let's eat cake!
Here's the photo of the finished princess cake and a link to the write-up on how-to-do-it.
~Tammy

Easy Princess Cake


So, in my Facebook feed, a week or so before my daughter turned three, this photo began circulating. I'm not sure the exact wording that they used, but I will give credit to the original post. Hot Moms Club posted a photo of an all pink dress with dazzling jewelry. (the top photo on this post)
I made my own variation for my three-year-old daughter's birthday. Below I detail how I did it.
A related post is "Easy Egg Yolk Removal".
 http://simplysweetbakeshop.blogspot.com/2009/02/best-strawberry-cupcakes.html is where you can find the recipe I used. The recipe stated it would only make 18 cupcakes but I managed to get 21!
After separating the yolks, you mix them in with the creamed butter and sugar
 I purchased two flats of strawberries, not knowing exactly how many I would need
 Once pureed, I had more than enough from my batches. I was selective and only chose the plump, juicy ones. The ones with green on them did not go into the mix.
 The recipe called for one cup of puree. Perhaps you can see that I used slightly more than one cup and that is what stretched my recipe to 21 versus 18 cakes?
When it comes to dairy products, Oregon is known for Tillamook. Their cheese is by far better than any other brand I have tried.
Tupperware makes measuring cups and spoons, and when you actually need an eighth of a teaspoon, well, here you are!
Take all your dry ingredients, mix with your wet ones, her recipe is straight-forward and easy to use
I lined eighteen of my twenty-four cupcake molds
The batter is not truly pink, but has a lavender tint
I have found that using a soup ladle makes filling the cupcakes easier. A friend uses her cake decorating bag which would also be tidy.
As stated before, I had enough batter for twenty-one cupcakes. For the five of us, that seemed like plenty.
The frosting recipe calls for strawberry extract and I used it, but it wasn't as pink as I'd hoped
This is the first time I've seen "six cups of sifted powdered sugar". Do I sift it and then measure? Do I measure and then sift it? I chose to measure six cups, then sift them.
The birthday girl wanted to help sift
She wanted to help mix, but I didn't realize she would put it on high speed
The sifted powdered sugar flies like snow in a blizzard!
No raw eggs on this beater, just sheer strawberry cream cheese delight!
My cupcake dress before it is decorated. In the original, she used more cakes, but I scaled it down for my purposes. I had one extra. This is a twenty-cupcake dress...but I ended up using that last cupcake in the top row to make it look more like the original.
I used a #2 Wilton tip to decorate the cupcakes...and added a couple drops of pink food coloring
Once you've put the frosting on the cupcakes, you'll still have some gaps to fill between the cakes
The softer your frosting, the easier it is to fill in and spread the frosting. See how that last cupcake better added the shape of a dress?
Here is the dress before the bedazzling began. I used the "celebration pearls" as I wanted a lot of color
One of my daughters was trying to help, and accidentally spilled them all over the counter
...and the floor
Even after I'd placed all the pearls, I decided the top half needed more variety and color
And, here is her finished cake. We had a number "3" candle that we placed on it while she wore the crown.

My final thoughts? This was absolutely the best strawberry cupcake recipe I'd ever used and if you wanted to simply make strawberry muffins, you could use it. The cakes are plenty sweet without the frosting!
You can use any colors to make the dress, I've seen people smooth out the frosting on the top and just edge the outline with a tip. The sky is the limit, but you've got to start somewhere.
~Tammy


Thursday, April 10, 2014

3 Ingredient Truffles

If you are a regular follower, you know that I enjoy easy and scrumptious.
I use butter, not margarine.
I use sugar, not splenda.
And? Chocolate is delicious, in many forms.

So, as I enjoy bite-sized appetizers, I was searching Google for a new recipe for chocolate-chip cookie dough truffles. You may enjoy my previous post on "non-toxic" cookie dough balls.


I found a delightful blog, "Bake It and Make It with Beth".
Here are direct links to her Cookie Dough Truffles
and to her Easy Chocolate Truffles

So, the first time I made these, I was pressed for time and forgot her 4th ingredient, which is to be added after your concoction begins to cool.

I will therefore tell you, I did not think the absence of vanilla was detrimental to the flavor of the truffles. Your three ingredients are:
sweetened condensed milk
cocoa powder
butter

On low heat, melt the butter. Once liquified, mix in the cocoa powder until it is combined. Turn up the heat to medium, add the milk and stir constantly for 3 minutes.

Remove from heat, place in a safe container and cool in the refrigerator (or freezer if you're pressed for time) for as long as you need. (she recommended 3-4 hours or overnight)

Her rolling instructions are simple. I tried various coatings. I did find that for the toasted coconut, my oven cooked much faster than hers, so check at about half the cooking time.
The first time I did this, as I said, I was pressed for time so I didn't take photos, I think my recipe yielded 30 truffles easily.
Here is a photo of the cherry-coated truffle I still had at the end of the night.
I'm considering re-naming this blog "Looks Bad, Tastes Great". What do you think?

The second time I made the recipe, I took photos of the finished product.
I think the cooled truffles look like a large container of tootsie roll.
When you bite into these, it's like eating brownie batter.
Pure buttery goodness!
You can coat them with anything.
I rolled them in miniature chocolate chips, dipped them in melted cherry chips, in "white" chocolate, rolled them in the toasted coconut, and even in candy sprinkles.

You simply cannot mess these up. They are delightful!

~Tammy


Friday, November 15, 2013

Non-toxic Cookie Dough Balls

The world warns us of the dangers of raw cookie dough. Specifically raw eggs.
As adults, many of us ignore these warnings for the sheer delight of the sensation of butter, flour and sugar in their cold mixture rubbing against our teeth and heating with the warmth of our mouths. Especially if there are also chocolate chips.
Still, salmonella is a real problem, so how can one make cookie dough balls and keep them together without risk?

I'm in the mood for quick and easy recipes this week, so this is another non-Facebook recipe. Two steps and you've got a great appetizer (that does serve best if cold) that costs you a couple dollars but will elicit pleasure in the mouths of many!

When somebody moans in delight after biting something I made, that reward is unlike anything else. It's as rewarding as being a comedian and causing somebody to laugh with your words!

A popular pizza chain sells chocolate chip cookie dough. They state directly on their label, "Keep refrigerated. Bake before consuming."
However, they fully expect disobedience. If you read their ingredient list, they use eggs and egg whites, both followed with the words "dried, pasteurized".
That's right. Dried, pasteurized, non-toxic egg products in this marvelous chocolate chip cookie dough!

I purchased a tub of said pre-made dough, along with a bag of chocolate chips, then went home.

First, roll your dough into bite-sized balls. If you refrain from snacking, you can yield about 30 from the tub of dough. I was not so strong and only yielded 28 this time.

Then, place them in the freezer. This allows them to retain their shape when you apply the melted chocolate, the chocolate also hardens faster, and you run less risk of melting the butter in the dough.

When they are nice and cold, melt 1/2 cup chocolate chips for 60 seconds in the microwave in a glass container, stir and coat. Then, return to the freezer for cooling and quick setting.

My 1/2 cup covered 8-12 balls of dough. I used my remaining 1/2 cup chocolate chips, then was stuck with three uncovered balls of dough and some sparsely-coated chocolate balls.

I took some "Almond Bark" (also known as vanilla candy melt, also identified as "white" chocolate) and melted according to the package, stirred and coated the remaining balls.
When you try to coat a chocolate ball with the white chocolate, even though I had frozen them in between coats, the white chocolate will swirl and melt and mix with the semi-sweet chocolate.Embrace the combination, or know in advance never to double-dip.

The Non-toxic Cookie Dough Balls were an immediate hit at the party. Even better was the next morning when I took some to the teachers at my daughters' school. I heard the rewarding moan of taste satisfaction! You can too. The dough was $3 and if you had a full bag of semi-sweet chips ($2 or less), you would be "covered" for sure. I only had a half-bag left after I'd made my Easy Almond Roca.

Thanks for reading, hope this makes your appetizer obligation a bit less stressful as you enter the party season. I will be trying to post some less-decadent options in the weeks to come that still taste amazing.
P.S. My frozen delights always bead with condensation when they are in a room-temperature setting. This does not harm the flavor, but I would recommend keeping them at least in the refrigerator until serving time. I keep mine in the freezer as I enjoy the crisp coating of the chocolate paired with the extra-cold dough.

~Tammy

Easy Almond Roca


This will be my first recipe post that did not come directly from Facebook, but after making this treat I have had many friends ask me to share the recipe.
And yes, that is my photo with my own camera phone. I was shocked too. :)

I recently attended a Tupperware party. I grew up in a home where we owned many pieces of Tupperware, but had never been to a party. It's a cooking demonstration and it was a lot of fun! I volunteered to assist the saleswoman and we made this treat, though she said she was still working on tweaking the recipe to have less waste. (We had to pour off a lot of the butter liquid in the middle of the cooking)
This will not be an advertisement for Tupperware, but I did use their product to make this easy treat.
First, you will need almonds. They will need to be pulverized. Though sliced almonds are more expensive, they are much easier to pulverize.
Next, I placed waxed paper on a cookie sheet and spread the pulverized almonds.

 I then cubed one stick butter (to make it easier to melt) and mixed it with one cup raw sugar.
Her ratios at the party were 1/2 cup butter to 1/2 cup sugar, which did not work well. We had to drain a lot of the liquid, so I doubled the sugar and was pleased that I had hardly any excess liquid.
The tricky part is the cooking. You use the microwave rather than a stove and candy thermometer.
So, after one minute of cooking, remove the bowl and stir.
**My dear friend Bonnie is very conscious of the dangers of BPA contamination and contacted me after I'd posted this. If you are at all concerned about your dish, please try a glass bowl instead. I do not know how that will affect your cooking time, but your end result is to caramelize the sugar**
 The goal here is to carmelize the sugar and butter. When it looks like a caramel candy, soft and brown, you are finished.
Depending on your microwave, it will take an additional 2 to 4 minutes from the first time you stir. Check often! I checked at 60-90 second intervals.

Your next step is to pour and spread this liquid "caramel" over all the almonds. At the party, she used a little tupperware container that was safe to go "from freezer to microwave". Her roca was thicker than mine as it was not spread over such a large surface area.
I tried to spread this to the corners, but really didn't have enough "caramel" to go around the entire pan.


While the "caramel" is still hot, you then spread one cup chocolate chips over it so that they melt and mix as they go. At the party she used regular semi-sweet chips, but I chose to use mini-chocolate chips as they melt faster.


Again, I am not a food artist, and I use my 3.2mp camera phone for all these shots, so please forgive the soft focus that sometimes plagues my images.
Once I had sufficiently melted the chocolate, I used the wax paper to fold up the edges with extra almond bits and "threw them" onto the chocolate, mixing it in.
I then placed the cookie sheet into the freezer. Please note that this pan is fairly warm, so you do not want to place it directly onto any frozen food. I have a wire shelf in my freezer that is perfect for this purpose.
When you are satisfied with the freezing process, you may remove your roca. I was attending an evening function, so I know mine was in there for a couple hours before I removed it. You probably won't need to wait that long.
As it is nice and frozen, and I used wax paper, simply pick up the entire thing and flip it over, then begin breaking it!
 When you are satisfied with the size of your pieces, you can place it on a nice serving platter.
And, I promise that the butter flavor is what makes it the best recipe you will ever try!

Comment with your input!
~Tammy